
NIST Walk-Through
-
Authentication
- You will need your MFA YubiKey from the Paragon IT Support team.
- You should have also been set up with several NIST links which are likely in a NIST folder on your desktop.
- Inside this NIST folder, you should see 2 folder shortcuts (NIST PICs and NIST Workspace) as well as an Internet shortcut (NIST Watchguard).
- Until you are Authenticated, you won’t be able to navigate the folder shortcuts.
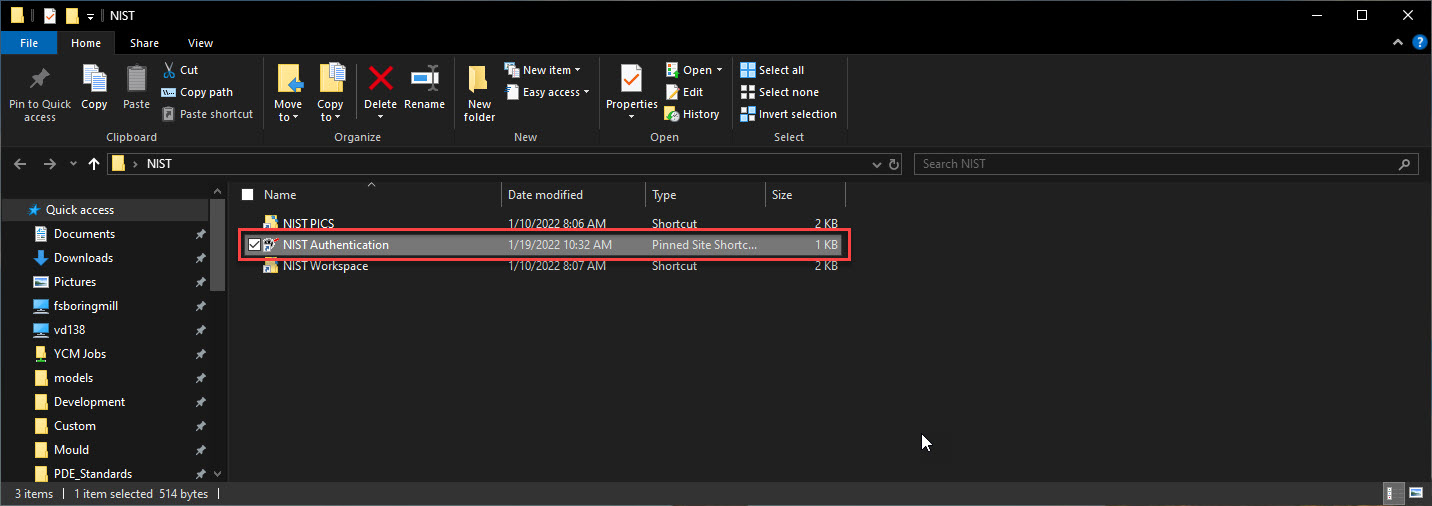
- Double click on Nist Watchguard (The Internet shortcut).
- This will open the watchguard login page in your default browser.
- This is different from the watchguard page (for those applicable) that gives you internet access.
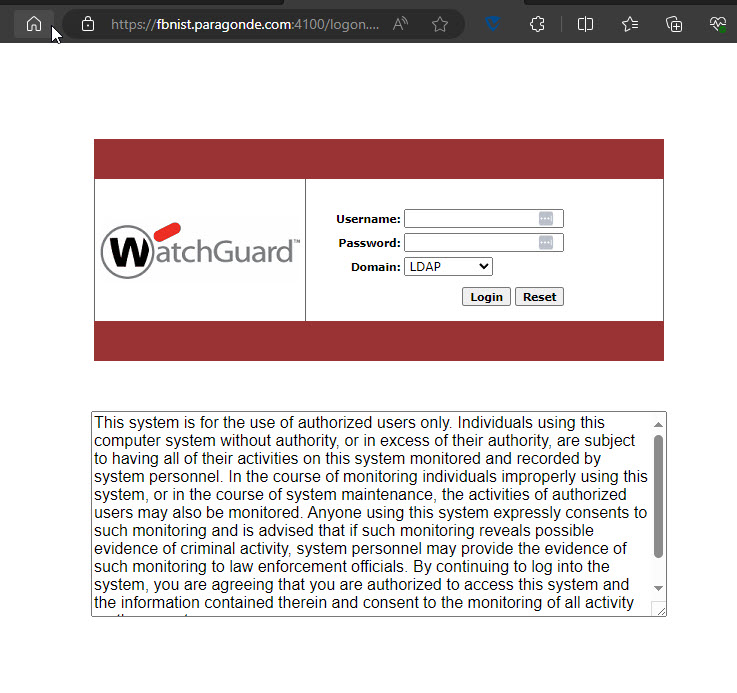
- Make sure the domain is set to LDAP
- Click in the textbox next to the ‘Username:’ label.
- Insert your YubiKey into a USB port on your computer.
- The ‘Y’ should light up (meaning that it was detected by the system)
- Press on the ‘Y’ with your finger. This will activate the key and fill in your generated code into the ‘Username’ field.
- Enter your windows account password and click the Login button
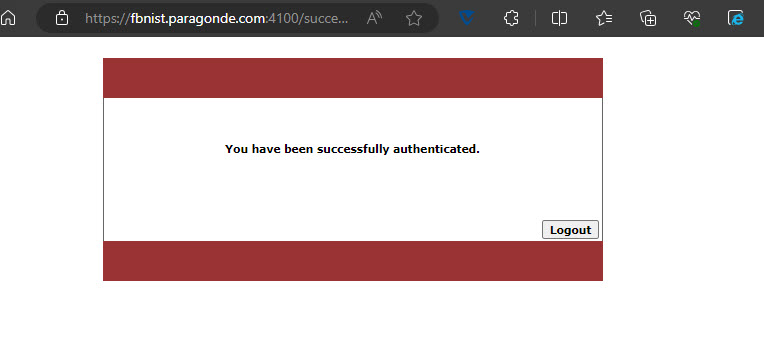
- You should now be authenticated, verified by a success page telling you so.
- You will need your MFA YubiKey from the Paragon IT Support team.
-
Navigating the NIST Server
- NIST PICs
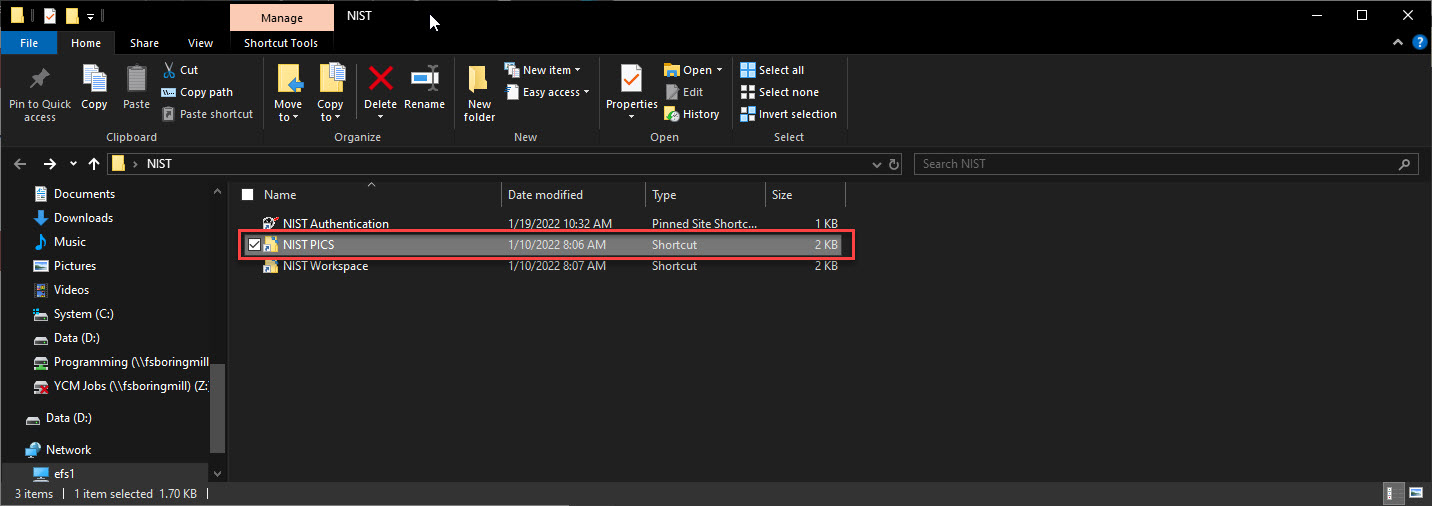
- Navigating into this folder by double clicking on it you should see 2 primary folders. The Jobs and the Quotes folders.
- These folders should be treated the same as if you are using the PICs application.
- Only completed files should be put here for public use, or files getting ‘checked in’ for backups overnight in case someone else will need to work on them the following day(s).
-
Do not open and modify these files directly.
-
Do not, under any circumstance, copy these to a local directly on your computer.
- If you navigate into the the Jobs folder, you can find the specific job number you need to work on.
- Take a copy of the model, assembly, or powermill project that you need to work on
- Copy this into your own NIST workspace
- Take a copy of the model, assembly, or powermill project that you need to work on
- These folders should be treated the same as if you are using the PICs application.
- NIST Workspace
- When you are using a file it should be copied to your personal workspace folder.
- It should remain in your workspace folder, until you are done with the file
- Once done with the file, it should be copied back into the Jobs/Quotes folders where the files originally came from.
- Because there is not currently an app to manage the sub folders for each Job/Quote, you may need to manually create the sub folders to match the PICs folders that are created for non NIST jobs.
- Because there is only so much space available on the NIST Server, once you have copied the data you worked on back into the NIST Pics folder, please delete the copy of data in your workspace
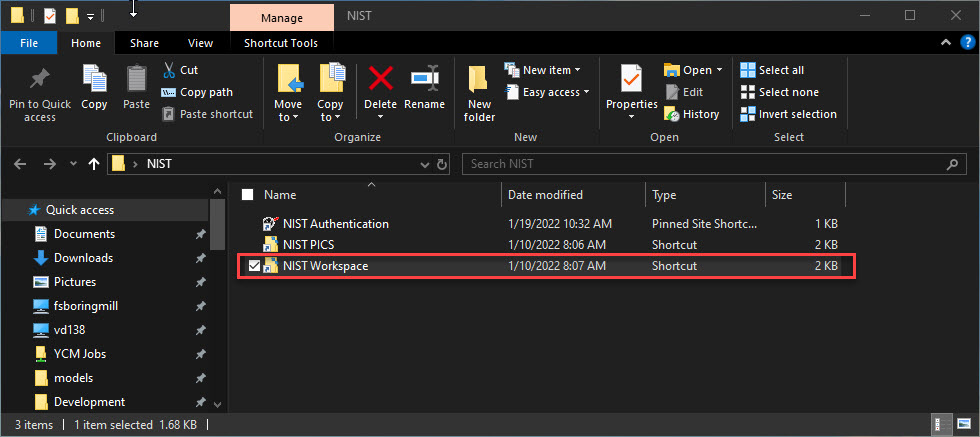
- When you are using a file it should be copied to your personal workspace folder.
- NIST PICs